How to Lay Sod in 5 Easy Steps
BY EMALEY BAXTER | MARCH 21ST, 2021 | LAWN CARE
Homeowners frequently turn to sod for a quick lawn makeover, but is this a project you can DIY? Absolutely. This article will detail how you can transform your lawn into a lush, green carpet in five easy steps.
1. Prep for Your Sod Project
Get a soil test
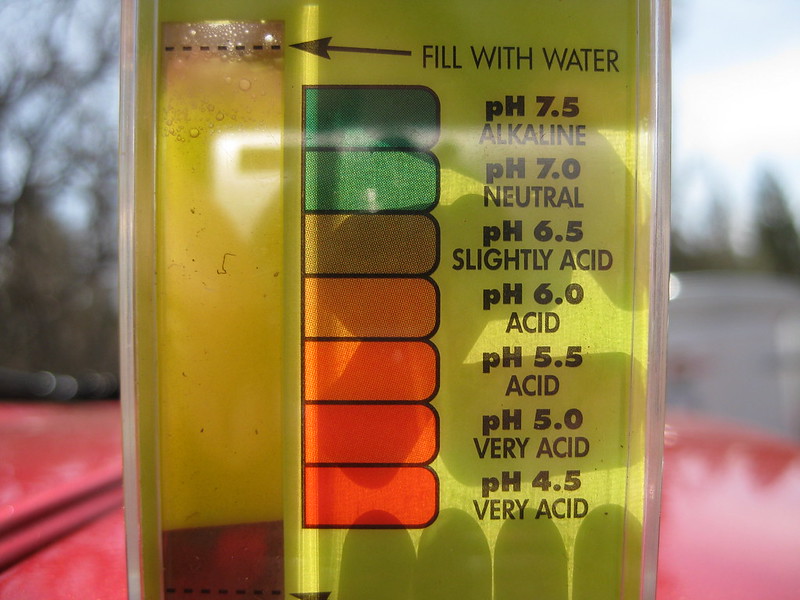
A few weeks before you plan to lay the sod, get a soil test. You can get an at-home soil test kit or take a sample to your local Cooperative Extension office. Allow a few weeks for processing if you use your Extension service.
Here’s why soil testing is a must before installing sod: Your sod needs a good soil structure for drainage and root development in addition to a balance of nutrients. A good soil test will determine your soil’s pH as well.
Measure the sod area
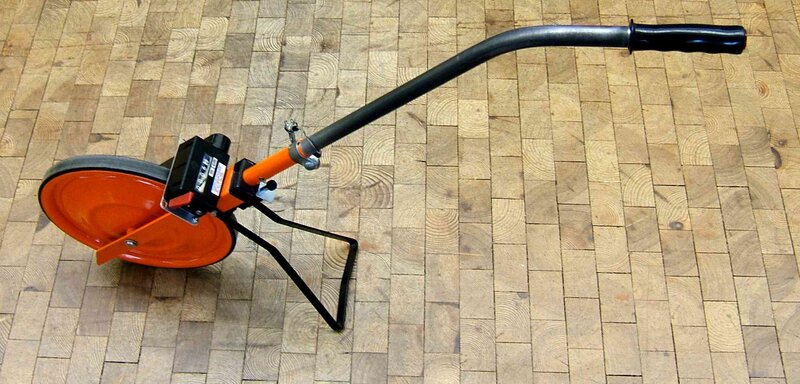
Use a measuring tape, measuring wheel, or count your paces to determine how many square feet you’ll need to sod.
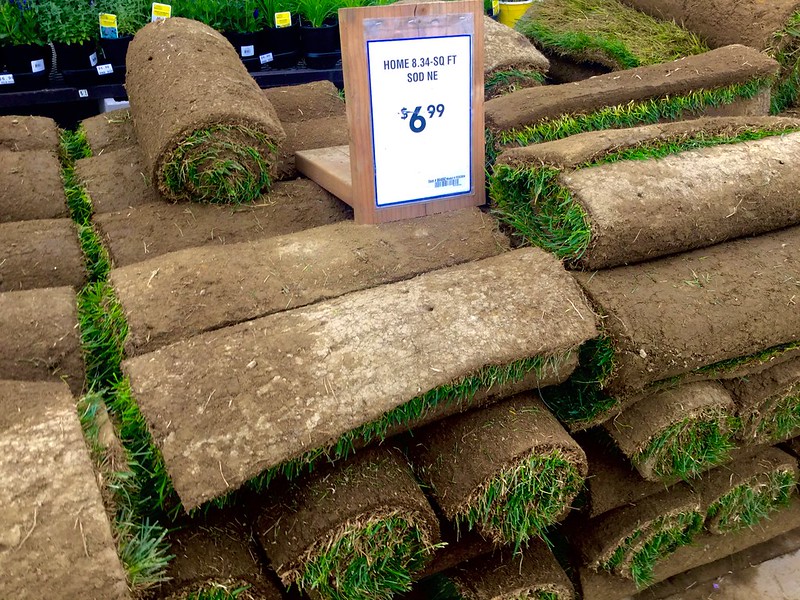
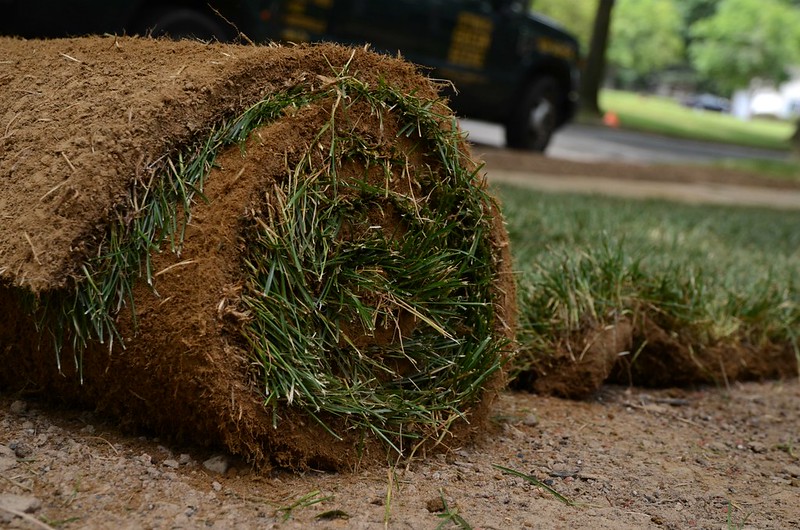
There is no industry standard for how many square feet of grass fit on a pallet. It varies from about 400 to 700 square feet, depending on the cut. Sod comes in rectangles (16” x 24”), mini rolls (40” x 18”), or large rolls (60” x 24” or 80” x 18”).
Find a sod supplier
Contact a local supplier or garden center to work out the details of your sod shipment. Experts recommend laying new sod within 24-48 hours after it has been dug up from the sod farm. Some experts recommend laying it within 24 hours or less. Ask your supplier company what they recommend.
Got shade? Ask your sod company for advice before you buy. Sod is generally grown in full sun and does not always perform well in partial shade.
Gather sod equipment (and friends)
DIY enthusiasts should allow two weekends for the sod job — one to do the site work and another to put down the sod. If you have a few friends, the job may take less time.
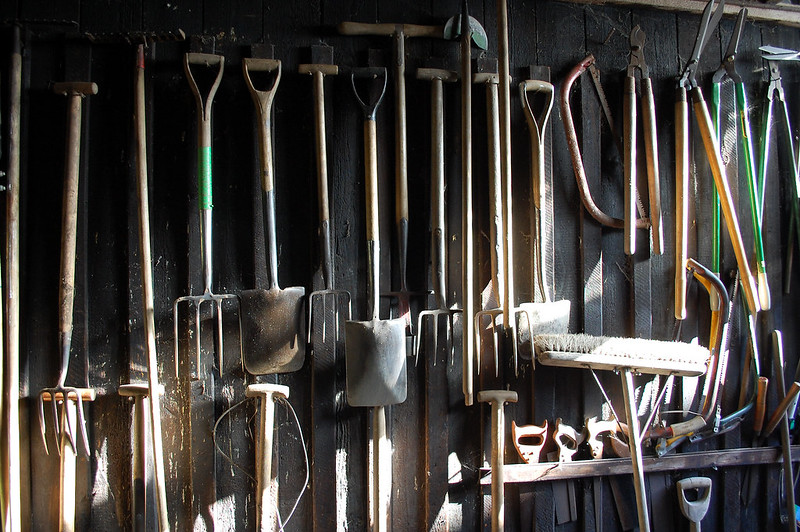
In any case, choose a schedule that works for you, and be sure to gather your equipment ahead of time. Tools, equipment, and supplies you may need include:
✓ Sod cutter
✓ Rototiller
✓ Garden rake (bow rake)
✓ Garden hose or sprinkler
✓ Compost, sand, lime, and starter fertilizer, depending on your lawn’s needs
✓ Retractable utility knife (razor knife, or any sharp knife)
✓ Personal protective equipment:
- long clothing
- ear protection
- safety glasses
- gloves
- footwear
If you need to rent a sod cutter or rototiller, reserve one ahead of time from your local tool rental or home improvement store.
Finally, don’t forget to check the weather forecast. You’ll want nice weather while you work.
2. Remove the Grass
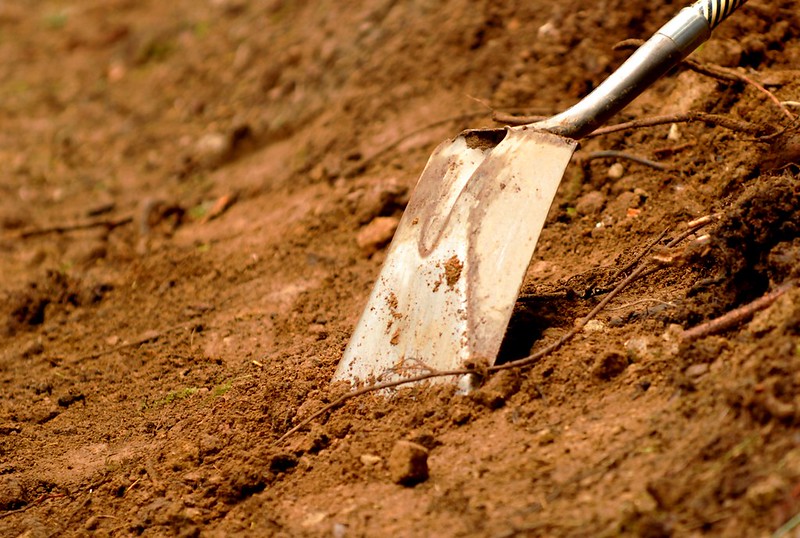
Beg, borrow, or rent a sod cutter to remove your existing grass. If you have a small area to re-sod, you can use a shovel or hand-held sod cutter. (This is where those friends come in handy.)
3. Prepare the Soil
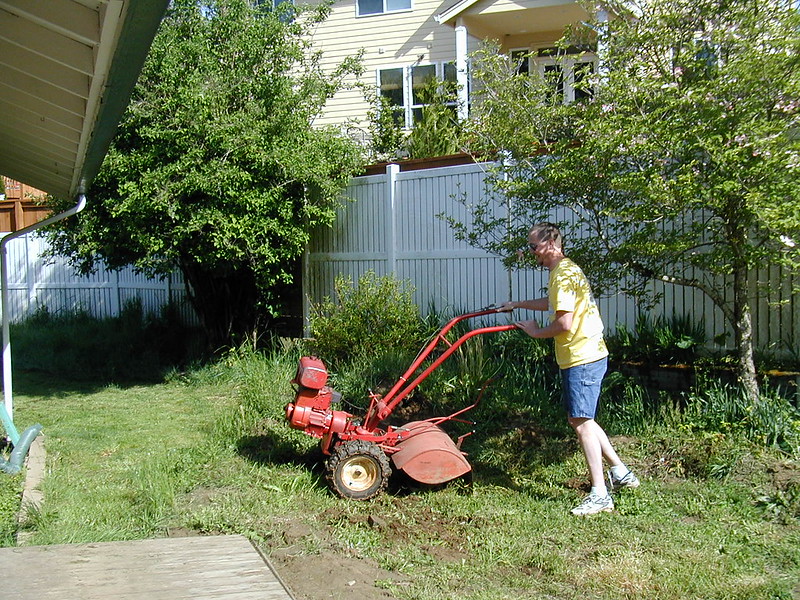
After you have removed the existing lawn, use a rototiller to till down 6 to 8 inches. This will give your sod a nice, loose soil so it can easily put down deep roots.
Depending on the results of your soil test, add 1 to 2 inches of organic matter as a soil amendment. Compost helps the soil structure and adds nutrients, and sand is used to help with drainage if the soil is too dense.
Spread this organic matter throughout the lawn. Rototill in the new organic matter, then level it out with a lawn rake, correcting high and low spots.
Also, make sure your grade is always sloping away from buildings.
Add lime, if needed, and put down starter fertilizer.
Finally, lightly water the soil so it is damp.
4. Lay the Sod
The day has arrived! Choose the longest straight edge in the yard as your starting point. From there, you’ll lay the sod like you mop a floor: Start at the farthest edge and work your way out. This ensures you don’t walk on the sod as you are working.
Pro Tip: If you are working on a slope, lay the grass across the slope in a horizontal manner instead of down the slope vertically. Use sod staples or biodegradable sod stakes to hold everything in place.
First Row: Lay down each roll, making sure you are abutting the grass tightly against the fence, wall, boundary line, etc. Make sure you press down the grass with your hands to ensure good contact with the soil (don’t walk on it). This will reduce the chance of air pockets between sod and soil.
Second Row: Cut the first roll of sod in half. This will ensure your joints are staggered. Think of laying the rows as if you were laying bricks — you want to stagger the seams.
As you lay down each strip of sod, make sure to press the side seams together with your hands (don’t overlap). This will help the grass to look seamless and will prevent the sod from drying out.
Pro Tip: When you need to cut a piece of sod, cut from the underside — not the grass side. This allows for an easier, cleaner cut.
Continue until the yard is complete.
Use topsoil to fill in any gaps in the seams, and roll the sod with a lawn roller. (Ask your sod supplier what they recommend. Some roll the lawn; some don’t.)
5. Water, Fertilize, and Mow

Watering recommendations for new sod can vary. Ask your sod supplier or a local pro what they recommend for your grass type and the time of year.
Common advice looks something like this:
- First week: Water one to two times per day. The soil underneath the turf should be wet but not soggy.
- Second week: Water once per day or every other day.
- Third week: Water once per day or twice per week.
- Fourth week and following: Water once per week.
Some pros recommend watering to a depth of 3 to 4 inches while others recommend a depth of 6 to 8 inches, at least to begin with. (Use a soil probe.) Ask your sod company to determine what is best for your sod. Program your irrigation system to water at the recommended rate. Make sure your sprinkler heads are set to cover all areas of the new lawn.
Fertilize your lawn with more starter fertilizer about one month after you have put down the turf. Continue on a regular fertilizing schedule going forward.
Wait at least three weeks to mow. You can ask the sod company how long your particular variety of sod takes to reach mowing height.
In general, use a walk-behind mower (sharp blade, please!) for the first mow. Don’t cut off more than one-third of the grass, and bag the clippings just this once.
FAQ About Laying Sod
What do I do with my old grass?
You can compost it. Yes, put it in the compost pile with other yard and food waste to create new soil for your lawn or ornamental beds.
Can I walk on the grass right away?
Sod experts recommend staying off the grass for three to four weeks, which is around the time of the first mowing. Ask your sod company how long they recommend to keep off your new grass.
What is the easiest way to form a curve?
Some say to put a garden hose around the curve and cut it with a utility knife. Others find it easier to put the straight edges of the sod against the straight edges of the flower bed and cut a seam along the curve, removing the excess.
When should I install new sod?
Laying sod is a year-round business. Having said that, there are great and not-so-great times depending on your climate and grass type.
Cool-season grasses are best sodded in the fall, while warm-season grasses are best sodded in early summer. If these times of the year don’t work for you, contact your local sod supplier or Cooperative Extension agent for advice.
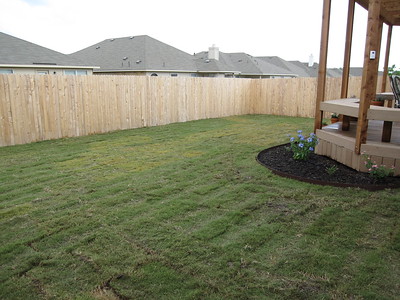
From Sad Grass to a Sod-Sational New Lawn
If you’re interested in new sod, you’re looking for a fast solution to your lawn woes. Laying new sod isn’t rocket science; in fact, it’s a perfect job for a novice DIYer. However, the devil is in the details. Do your homework, and follow these five easy steps to ensure your thick, green carpet lasts for years to come.
And if you would rather a pro install your sod, we can help you to find a lawn care or landscaping pro near you.
Main Photo Credit: george kiwi / Flickr / CC BY-SA 2.0